Repainting Painted Cabinets
A Step-by-Step Guide
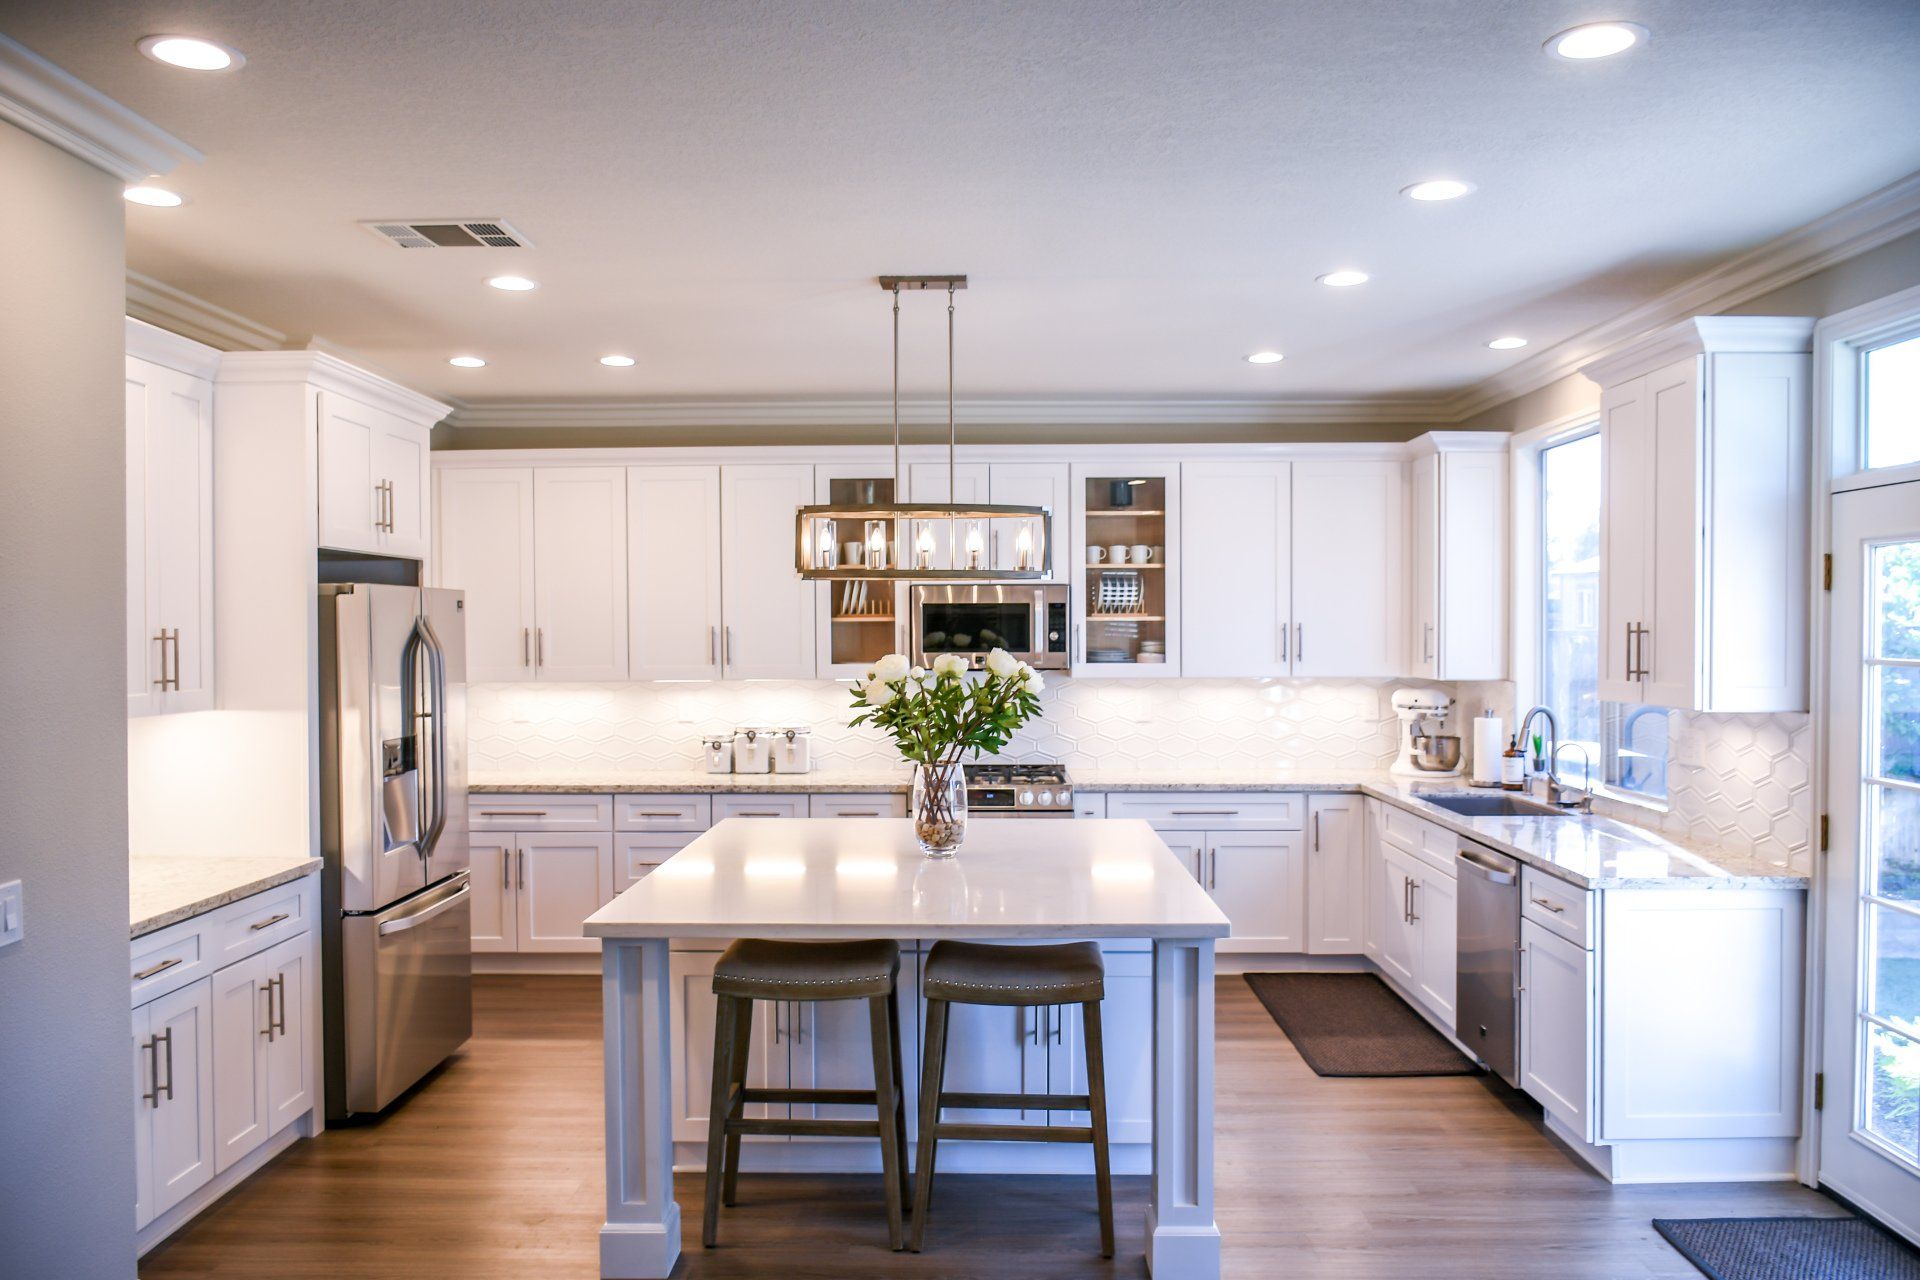
Repainting painted cabinets is an excellent way to rejuvenate a kitchen space. Imagine walking into a room filled with a fresh aura and new energy, simply from a burst of color.
The results can be transformative. By adopting some basic steps, anyone can achieve a professional finish that breathes new life into their cabinetry.
1. Gather Your Materials
First, he should gather all necessary tools.
This initial step includes acquiring high-quality sandpaper, primer, and paint. She should also invest in a durable, angled brush and a foam roller to achieve a flawless finish. Additionally, they might find painter’s tape, drop cloths, and a screwdriver essential for this task.
They should choose their color wisely.
Careful selection of materials will ensure that she is well-prepared.
By preparing the right set of tools and supplies, he gives himself the best possible chance to succeed. Thus, they can confidently tackle the task ahead, knowing that they possess everything needed to transform their cabinets into striking, refreshed focal points.
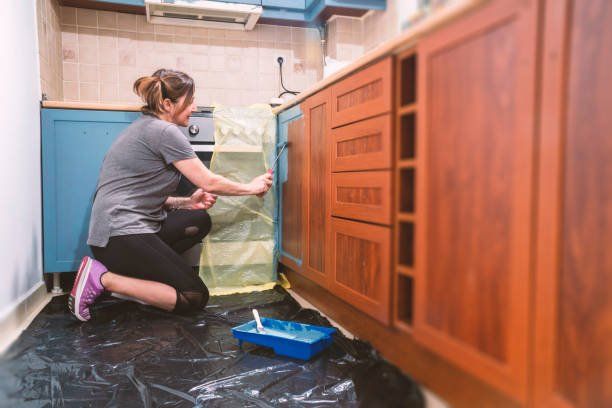
2. Prepare the Cabinet Surface
He should begin by thoroughly cleaning the cabinet surfaces to remove any grease, dirt, or grime that could impede the painting process. This meticulous cleaning ensures a smooth, long-lasting, and even application, so it is imperative to take time with this step.
Once the surfaces are clean, they must sand the cabinets to create a suitable texture for the primer and paint to adhere effectively.
Clean the Cabinets
A thorough cleaning is the cornerstone of any successful repainting project. It removes grease, dirt, and grime that could jeopardize the new paint’s adhesion.
To ensure the cabinets are spotless, they might use a "trisodium phosphate" solution, which is highly effective in removing stubborn residues. This step is critical for achieving a smooth, durable finish.
Cleaning removes 95% of surface contaminants, ensuring paint adheres perfectly.
After cleaning with a suitable solution, it's essential to rinse the cabinets well and let them dry completely. This ensures there is no leftover cleaner that might affect the new paint. By meticulously cleaning, individuals set the stage for a flawless repainting process, ultimately enhancing the cabinetry’s aesthetic appeal and longevity.
Sanding the Surface
By sanding the cabinets' surfaces, individuals create an ideal foundation for the new paint to bond effectively.
Before sanding, they should equip themselves with a medium-grit sanding block or an orbital sander, ensuring even and efficient abrasion. Sanding removes the glossy sheen and creates a slightly roughened texture, essential for the new layers of primer and paint to adhere robustly.
Acknowledging the importance of a consistent sanding method is crucial. By moving in small, circular motions, individuals can ensure a uniform surface ready to hold the primer and paint with maximum integrity.
Post-sanding, they must remove any residual dust with a tack cloth or a damp rag, thus preparing the cabinets for the subsequent priming phase. This meticulous attention to detail guarantees a pristine canvas, fostering the successful application of fresh paint and contributing to the project's overall success.
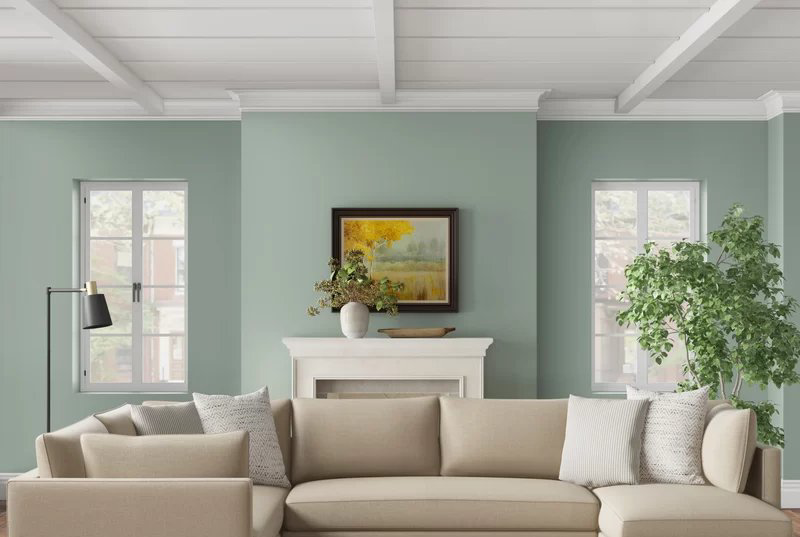
3. Choose the Right Paint
The selection of the right paint profoundly impacts the final outcome of repainting painted cabinets.
In 2016, industry professionals emphasized the significance of a high-quality paint for cabinets, underscoring enhanced durability and appearance. Choosing the correct paint type is crucial.
It's not just about color; one must consider the paint's resilience to regular cleaning and potential exposure to moisture and heat typical in kitchens and bathrooms. Opting for top-tier cabinet-specific paint yields superior results.
Professionals favor latex and oil-based paints, each offering unique advantages. Latex paint dries quickly, emits fewer fumes, and provides excellent durability. Oil-based paints, on the other hand, offer a smooth finish and robust resistance to wear.
Proper paint selection ensures that cabinets remain vibrant and resilient, regardless of daily wear and tear.
4. Prime the Cabinets
To achieve a flawless finish, priming the cabinets is a vital preparatory step.
Once the cabinets are thoroughly cleaned and sanded, apply a high-quality primer specifically designed for kitchen cabinets. This ensures that the surface is adequately sealed and ready to accept the new paint, significantly enhancing the durability and appearance of the final coat.
Priming also helps to mask any imperfections or previous colors. By providing a uniform base, the primer makes the paint adhere better, resulting in a crisp and professional appearance for freshly repainted cabinets.
Selecting the appropriate primer is paramount; consider the material of the cabinets and the type of paint being used. Using a bonding primer, for instance, ensures excellent adhesion, while stain-blocking primers are excellent for cabinets with stubborn stains or dark previous coatings. Ensuring top-notch preparation through priming sets the foundation for a successful and stunning cabinet transformation.
5. Start Repainting the Cabinets
With the priming stage complete, it's time to embark on the transformative journey of repainting painted cabinets. Selecting a high-quality paint specifically designed for cabinetry ensures a durable, beautiful finish that will stand the test of time.
Carefully applying each coat while allowing adequate drying time between layers is imperative. This meticulous approach ensures a smooth, professional outcome.
Apply the First Coat
Begin by stirring the paint thoroughly to ensure an even consistency and color distribution.
- Prepare the workspace by laying down drop cloths or plastic sheets to protect floors and surrounding areas.
- Use a high-quality brush or roller designed for painting cabinets to achieve a smooth, uniform finish.
- Start with the inner edges and openings before moving to the outer surfaces of the cabinets.
- Apply the paint in thin, even coats, using long, consistent strokes to prevent drips and brush marks.
- Allow adequate drying time as specified by the paint manufacturer’s guidelines before applying any additional coats.
Taking these steps ensures a flawless application that enhances the cabinets' durability and aesthetic appeal.
With patient, careful work, each coat will contribute to a professional, lasting finish.
Let it Dry and Add Additional Coats
Allowing each coat of paint to dry completely is essential for a professional finish.
- Follow the Manufacturer's Guidelines: Adhere to the recommended drying times for the specific type of paint used.
- Ensure Proper Ventilation: Maintain good air circulation to expedite the drying process and avoid a tacky finish.
- Inspect the Surface: Check for any imperfections or uneven areas that may need light sanding before applying the next coat.
- Apply Additional Coats: Use the same method as the first coat, ensuring even, smooth layers.
- Repeat as Necessary: Continue applying coats until the desired opacity and finish are achieved.
Neglecting proper drying times can compromise the final result.
By following these steps, each successive coat will enhance the cabinet's appearance and durability.
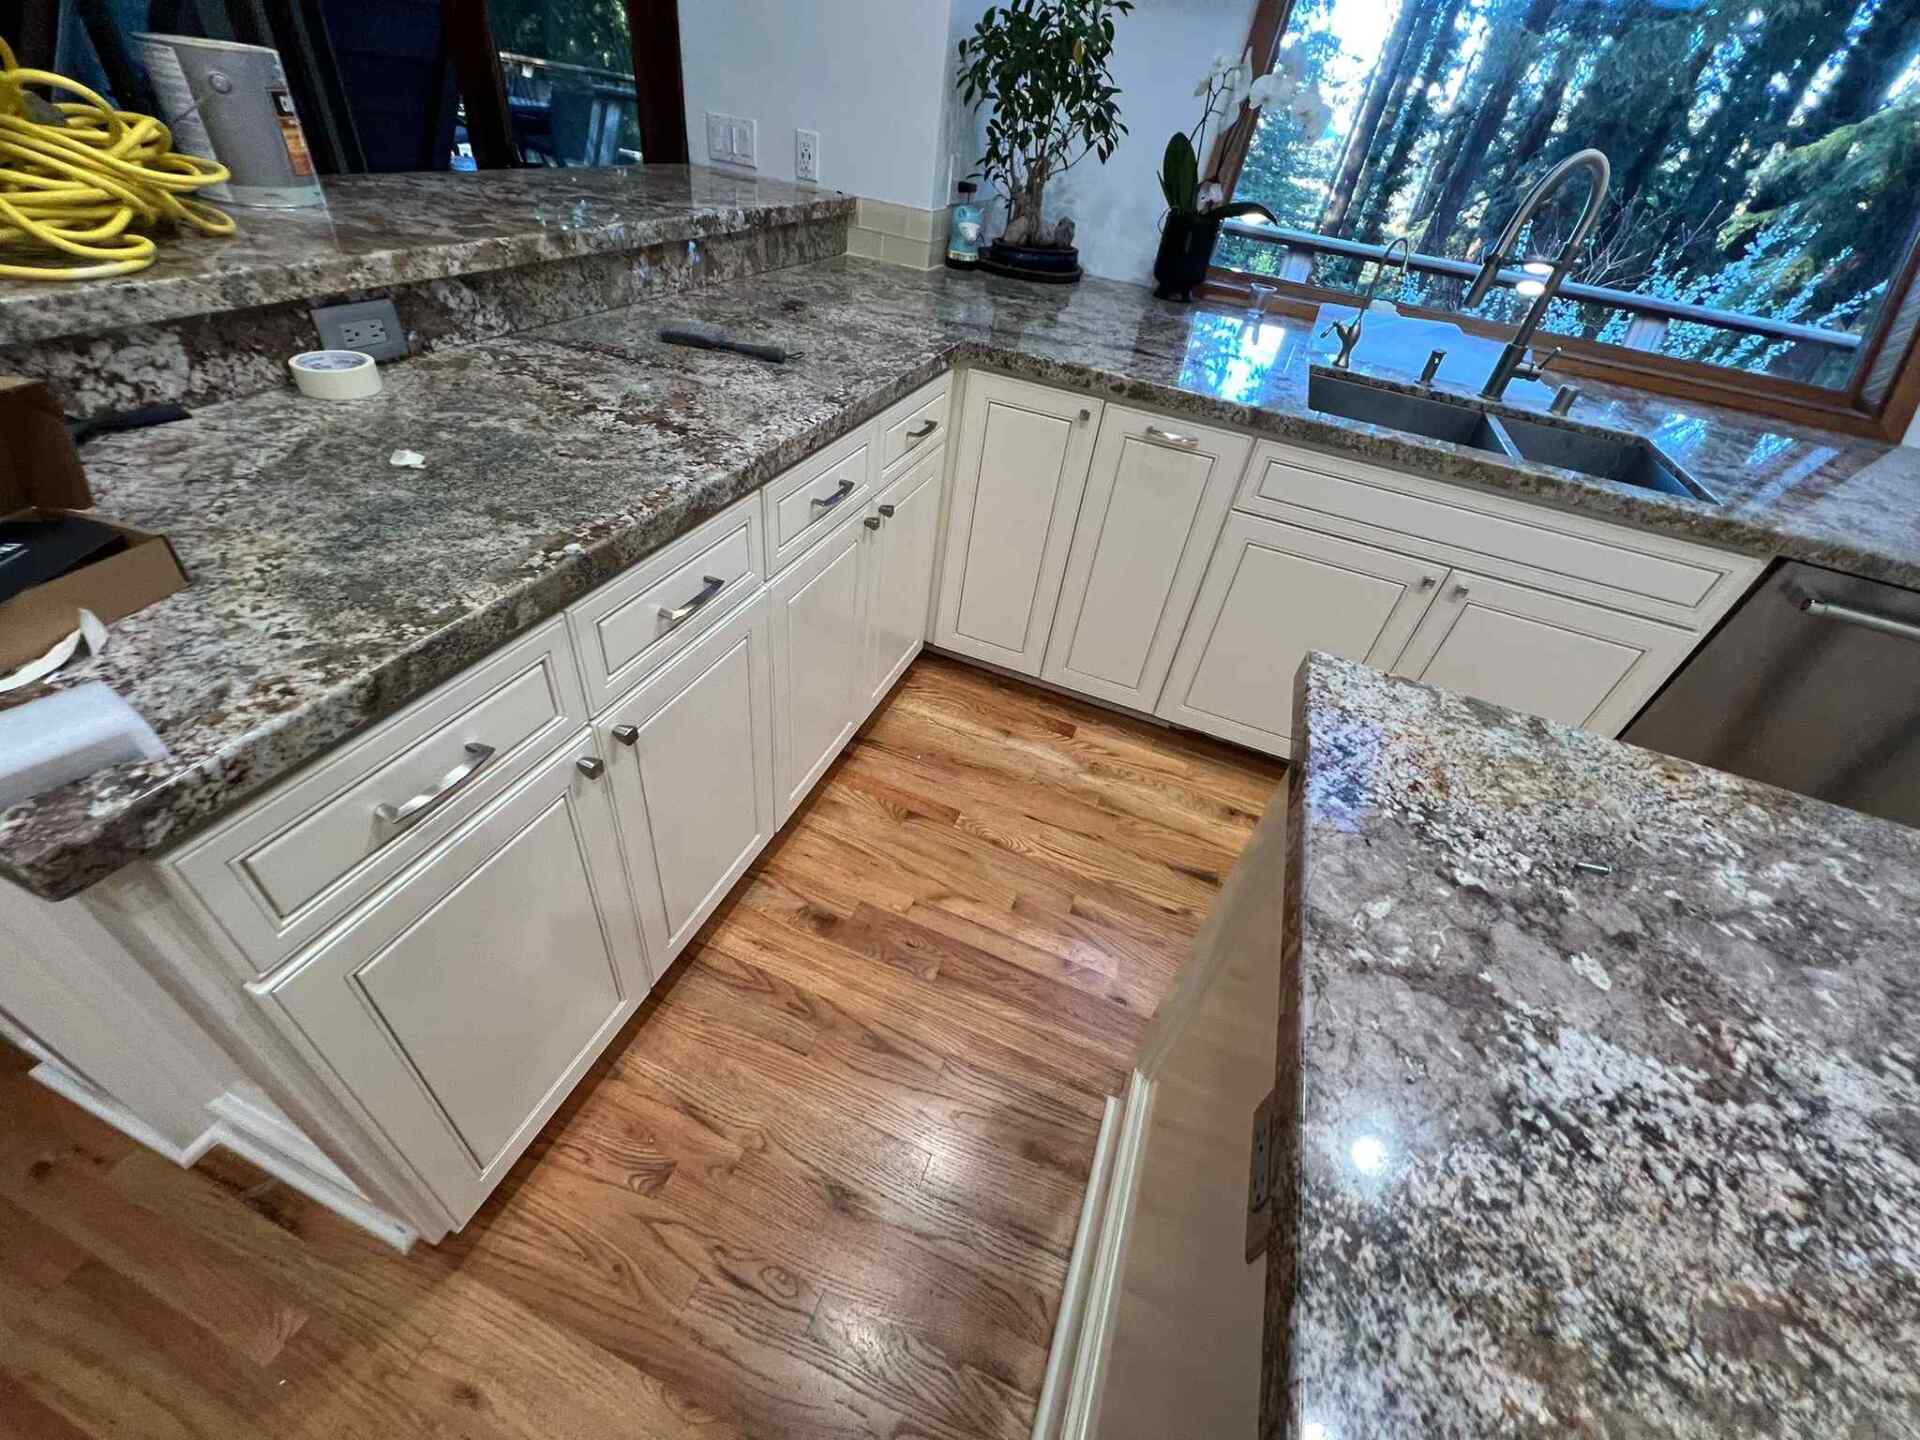
6. Finish and Reassemble
Once the final coat of paint has dried thoroughly, it is time to move forward. Now, it’s time to put the finishing touches on, ensure the surfaces are clean, and reassemble the cabinets with care. Taking the time to clean the hardware and inspect each piece ensures everything fits together smoothly, aligning perfectly. Reattach the doors and handles carefully, admiring the fresh, rejuvenated look of the cabinets.
7. Tips for Maintenance and Care
Caring for repainted cabinets extends their longevity.
Proper maintenance involves gentle cleaning with a soft cloth. It’s advisable to avoid harsh chemicals that could damage the painted surface, opting instead for mild soapy water. Regularly dusting the cabinets can also prevent the build-up of grime, ensuring they remain pristine for years.
Keep moisture levels in check.
Exposure to excessive moisture can lead to paint deterioration and wood damage. By placing dehumidifiers in areas prone to high humidity, homeowners can mitigate potential issues.
Periodic inspection helps in identifying areas that may need touch-ups. This proactive approach ensures cabinets retain their vibrant appearance. By following these guidelines, one can enjoy the revitalized beauty of their repainted cabinets while extending their lifespan.
Hiring the Right Painting Contractor for the Job
Selecting a qualified contractor is crucial. Homeowners should start with thorough research. This research typically involves reading reviews, asking for recommendations from friends or colleagues, and checking online ratings. Additionally, one can ask the contractor for a portfolio to assess their previous work. Verification of licenses and insurance is another critical step. Certifications and experience matter.
A well-experienced contractor brings invaluable expertise. They can often provide insights to enhance the outcome.
Comparing quotes from multiple contractors is recommended. Not only does this help in finding the best pricing, but it also reveals the scope of services included in the estimate - ensuring transparency and avoiding unexpected expenses.
Above all, effective communication with the prospective contractor ensures that their vision aligns with the homeowner’s expectations. A good contractor will be receptive and willing to discuss any concerns, fostering a trusting working relationship.
You might also like
Book A Service Today